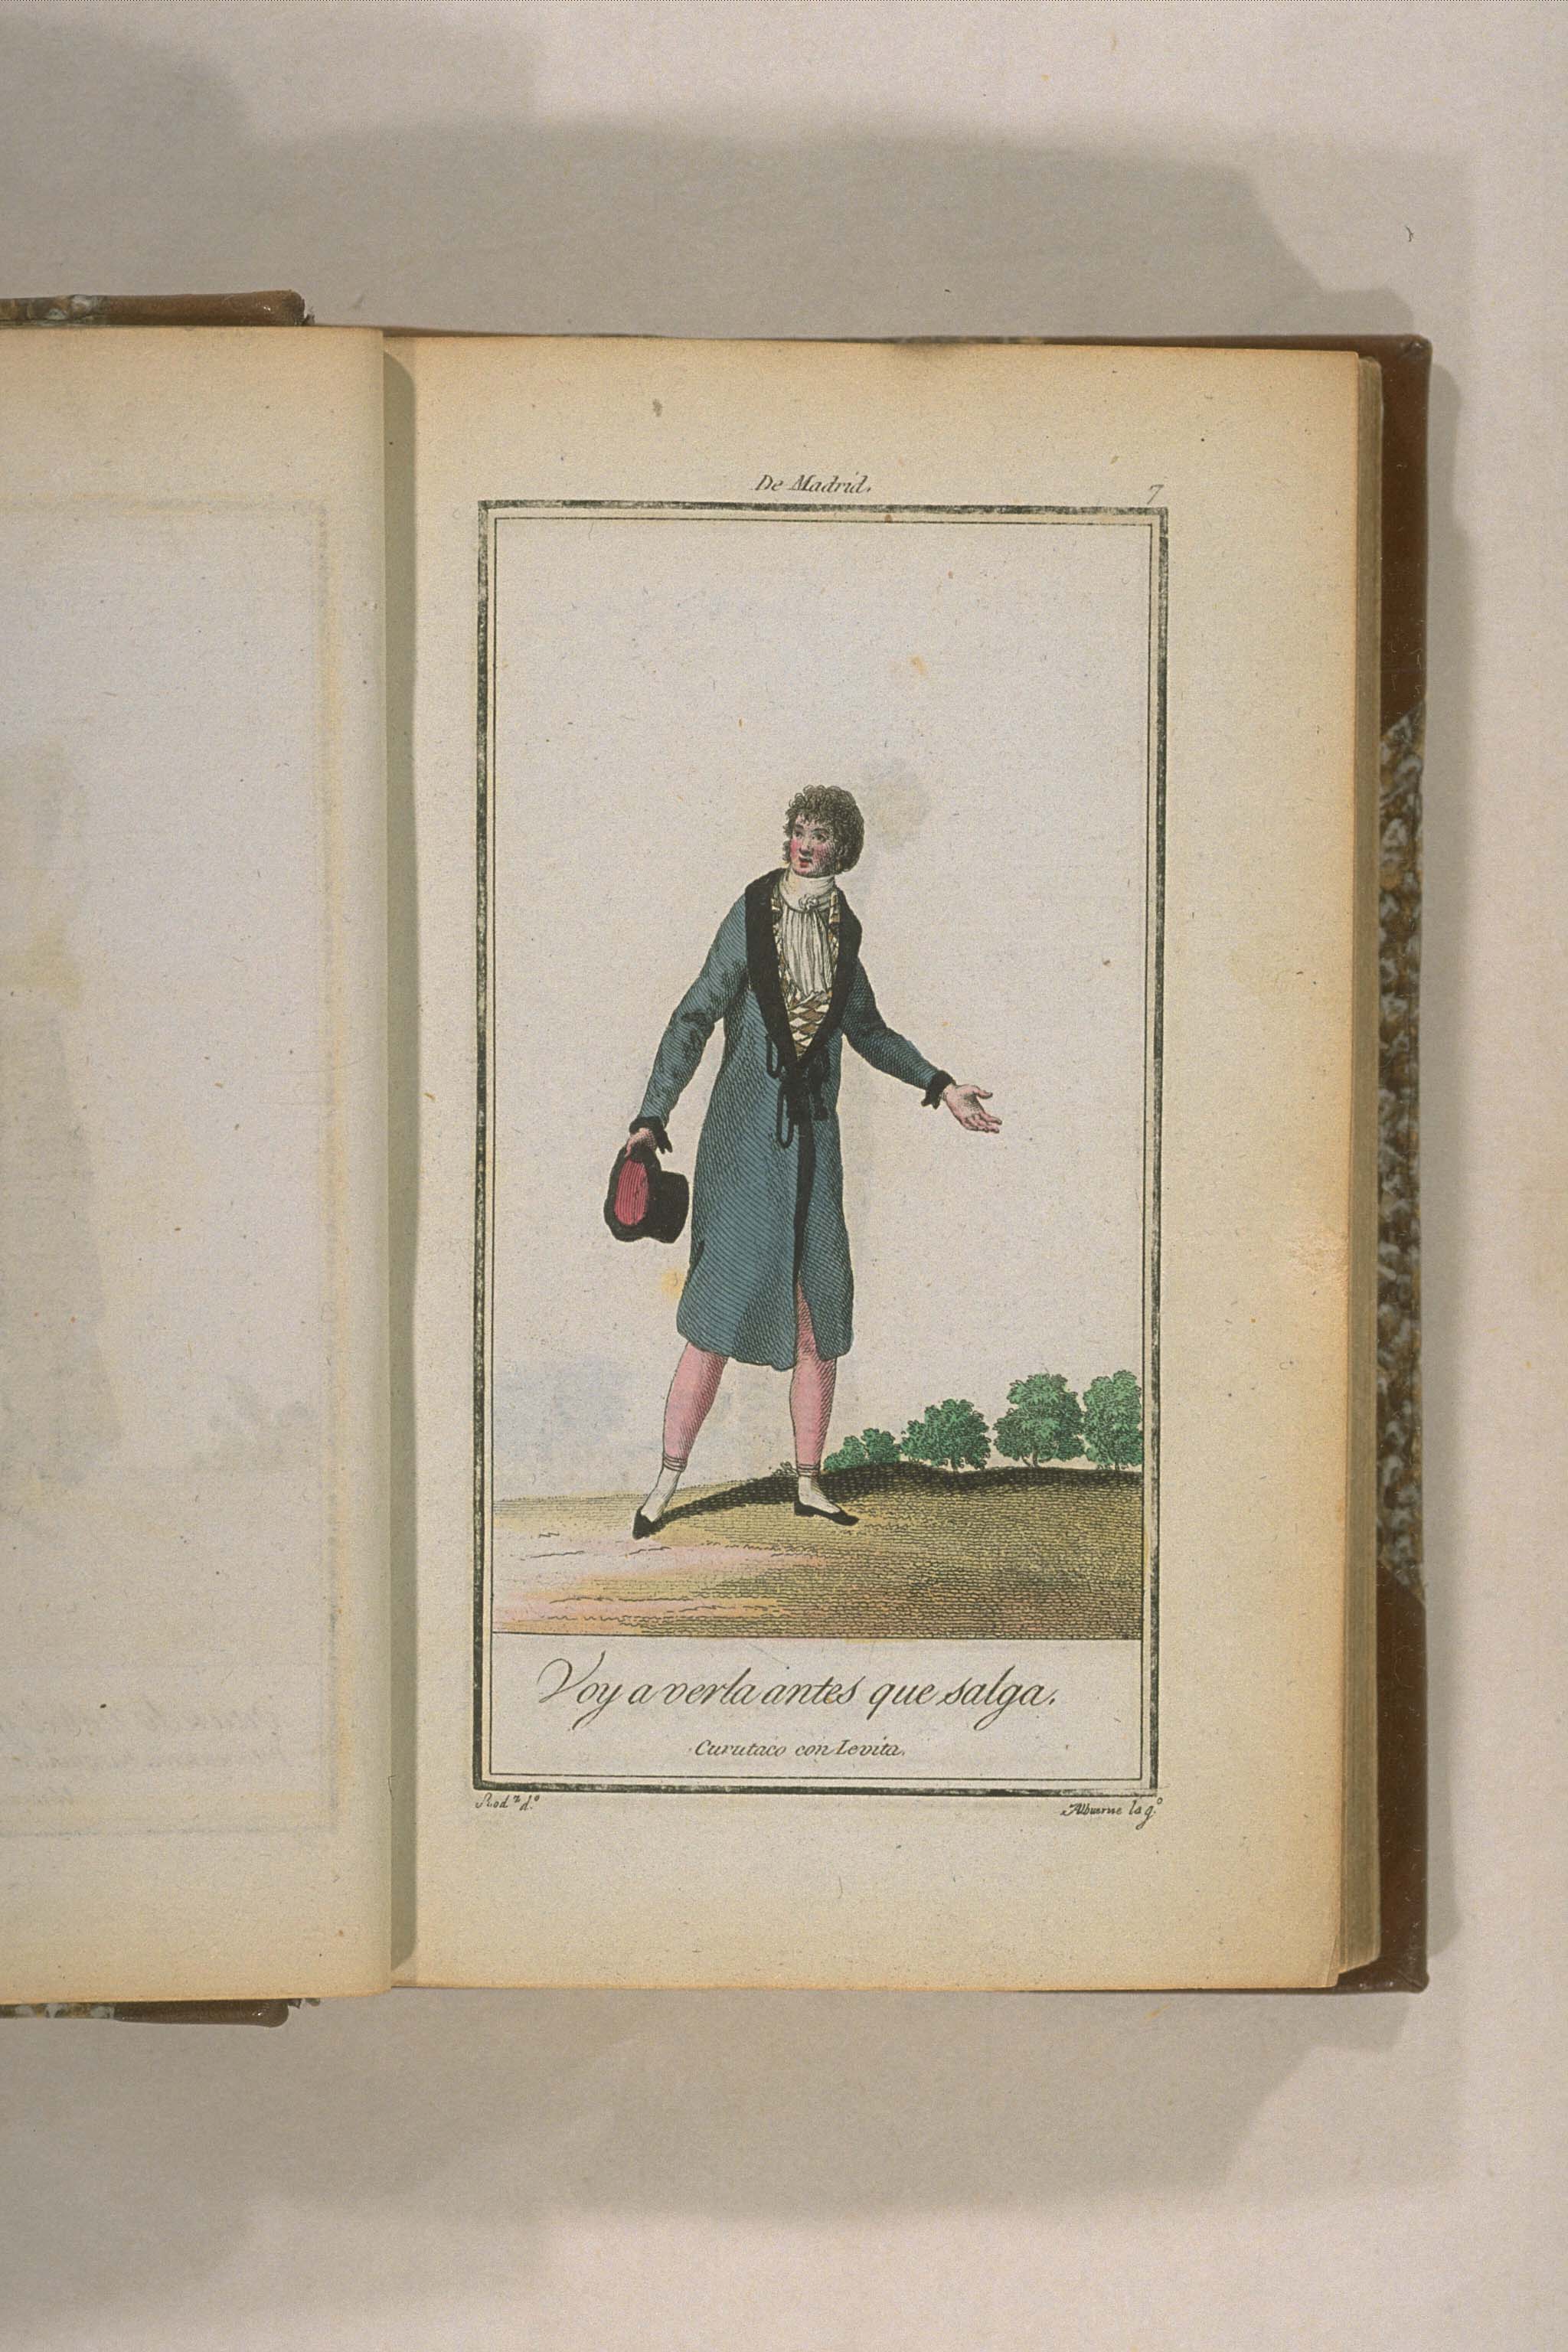
The image on the far left is what I'm aiming to make for J-L. These dustcoats probably evolved from the 18th century banyan as Cunningham suggests (see quote below), men donned the banyan over their waistcoats and trousers at home to be comfortable, similar to the Victorian smoking jacket.
The banyan was a loose, full kimono style in the early 18th century, but
later evolved into a more fitted style with set-in sleeves, similar to a
man’s coat. It was known as an Indian gown, nightgown, morning gown, or
dressing gown. First used as a type of robe, it was originally worn for
leisure and in at-home situations; but came to be worn as a coat
out-of-doors, in the street, or for business. Many gentlemen had their
portraits made while wearing banyans. They were made from all types of
fabrics in cotton, silk, or wool
(Cunningham, 1984).
Darcy wears an outdoor version of it in the 1995 BBC version of Pride and Prejudice as can be seen on the right. Ever since J-L saw this coat, she has been pining for one and so now I'm going to fulfill that dream ... well that's the plan lol!
The dustcoat pattern, 1801-02, on the left is taken from an out-of-print book from the National Museum in Copenhagen and it comes from Aylwen's
History in my Wardrobe blog. She is also intending to make a version of this dustcoat.
You can see the simple banyan front and I love his pink breeches, aren't they fun!
Fitting the toile
I copied out the pattern and enlarged it further to fit J-L's dimensions and then cut out a toile.
 |
| Front, of course this is way shorter than the real version will be |
 |
| Back view, this is far more fitted and my toile was too loose, so I had to take it in considerably |
 |
| Side view |
I'm pleased with this toile, its fitting well and apart from incorporating the changes to the back seams, it seems to be working, woot!
Next installment 9/6/2012
I enlarged the sleeves and collar and added them to the toile ...
 |
| Front with collar and sleeves added, draped like the portraits, see image below |
 |
| Side back with sleeves and collar |
 |
| Back, with sleeves and collar |
 |
| Coat over the waistcoat toile created by my apprentice, looking good |
 |
| Back view of coat over toile, the dummy is a small size 10, so its not fitting that well. |
I am very pleased with this, next phase is to add a length, add double breasted extension to the front and add facings and sleeve cuffs.
Long skirt extensions, now this looks right I think, but it will take a ton of fabric, I am wondering how the narrow fabric in the Regency was used. The pattern from Danks Modern doesn't have gores, which would be the way I would normally do it with narrow fabric, I will have to ponder and research.
Facings and proper collar added ...
Isn't it just 'tickety boo'? I'm tempted to dye it as its such a lovely toile, rather than making it in a fashion fabric, but then, I'd have no pattern, le sigh!
Here's two gentlemen also posing in the dustcoat toile, such elegance, I especially love G with his hounds ...
Onto the actual garment, I am using a beautiful silk suiting in very dark green, its light, has a lovely hand and drapes beautiful, srangely it usually photographs as black.
 |
| Adding front facings |
 |
| Stitching back together |
 |
| middle pleat |
 |
| Front view |
 |
| Side view, with pocket, original had insert pockets in side seams, I forgot and put in these, ah well, they look nice |
 |
| Back view |
 |
| Collar |
 |
| Back collar |
More soon ...